What Happens From Templating to Installation
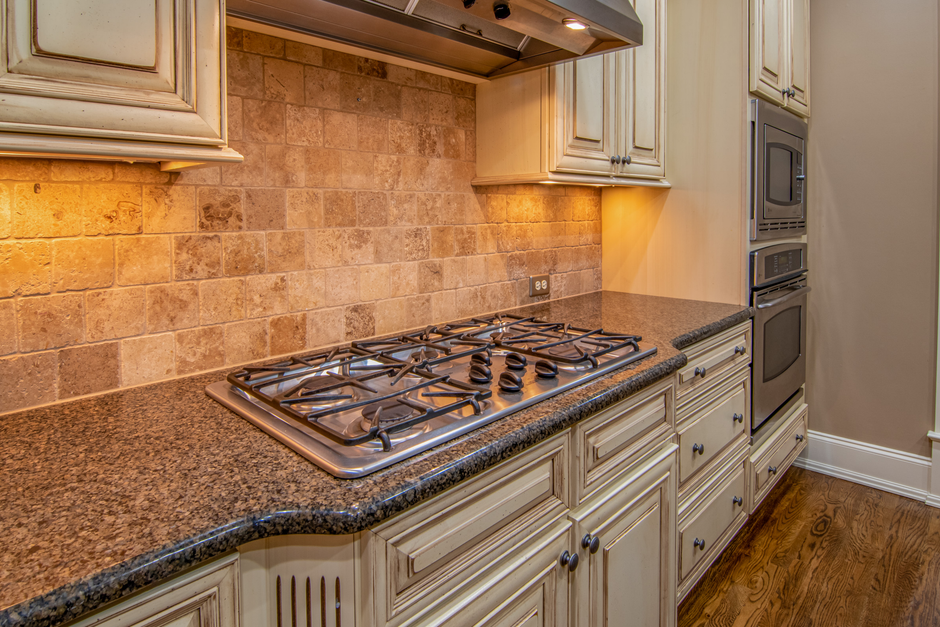
The template does one job: it carries the exact outline of the cabinet tops from the kitchen to the shop. Every step in the process described at countertops madison andover mn runs off that outline, whether the countertops end up in a Dane County farmhouse or a condo near Lake Mendota in Madison, WI.
Templating
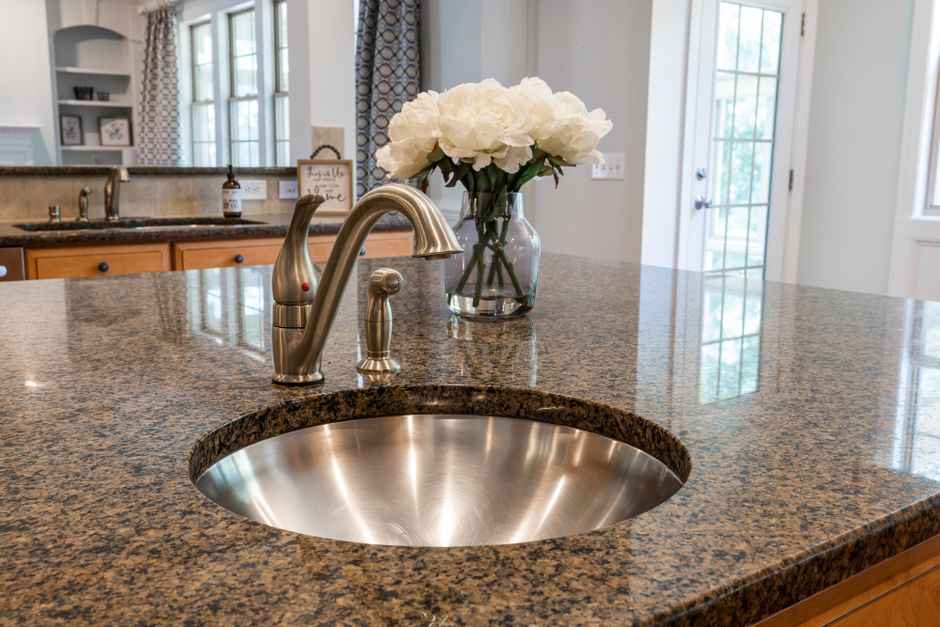
Templating starts with either digital measuring equipment or thin strips joined into a full size pattern of the cabinet tops. The pattern records wall angles that are never quite square, the sink location, the cooktop opening and the overhang past the cabinet face. A fabricator does not skip this step, because the slab is cut once and a wrong cut cannot be glued back into a clean edge.
Layout on the slab
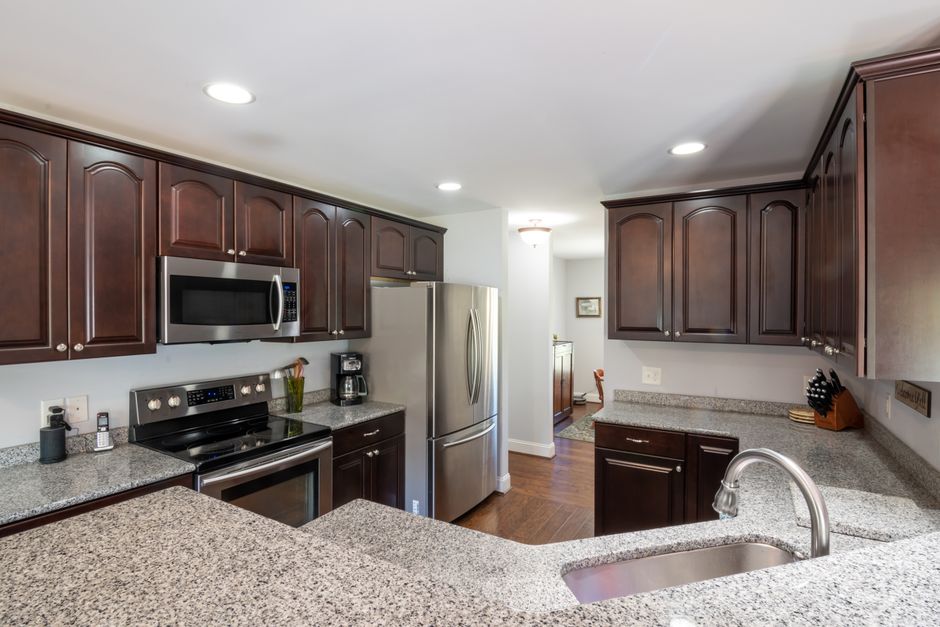
The fabricator lays the template over the slab to decide where seams fall and how veining or pattern will run. This matters most on marble and quartzite, where a vein that breaks at a joint is obvious from across the room. A long run of cabinets may still need a seam, so seam placement is chosen on the slab to land away from the sink and cooktop cutouts where possible.
Cutting and dust
Cutting is usually done with water fed saws or CNC routers. The water cools the tooling and holds dust down. That second job is a safety matter, since cutting quartz and granite releases crystalline silica dust, which is a lung hazard. Wet cutting and dust control are standard practice in a proper shop, and the work is done there, not by hand on site.
Cutouts and handling
Inside corners of sink and cooktop cutouts are rounded. A sharp inside corner concentrates stress, and a crack can start there under the weight of a pot or a settling cabinet. Handling follows the same logic. Slabs and finished tops are moved on edge, because a piece of stone carried flat can crack under its own weight, especially a narrow section with a cutout in it.
Seams and edges
Where a seam is needed, it is bonded with color matched epoxy or a similar adhesive. Seam setting clamps draw the two pieces tight and flush while the adhesive cures. The edge profile is shaped and polished in the shop before delivery, whether that is an eased edge, a bullnose or a waterfall edge. Install day is then mostly setting, leveling and checking the seams against the template.