Countertops in Madison, WI
Plain answers about countertops in Madison, WI. Learn how stone, quartz, wood, and laminate behave in cold dry winters and humid summers, what happens during installation, and how to judge the work.
What We Cover
- Choosing a Countertop Material for Wisconsin Seasons How granite, marble, quartz, solid surface, laminate, and wood respond to dry winter heat and humid Madison summers.
- Common Countertop Problems and Their Causes What causes etching, stains, hard water film, cracks, open seams, and swelling, and which issues can be repaired.
- How to Judge a Countertop Fabricator and Installer Questions to ask about slabs, seams, supports, and fit, especially in older homes near the Wisconsin State Capitol.
- How to Prepare Your Kitchen for New Countertops What to finish, choose, and clear before templating day so your new countertops fit the cabinets and fixtures correctly.
- Scheduling a Countertop Install in a Wisconsin Winter How cold weather, snow, and dry indoor air in Dane County affect delivery, adhesives, and wood tops during installation.
- What Happens From Templating to Installation A step by step look at how countertops are measured, cut, transported, seamed, and set in place in your kitchen.
Countertops in Madison, WI
Countertops in Madison, WI have to handle two very different indoor climates. Winter in Dane County brings heated, dry air, and summer brings humid air. Wood tops swell and shrink with that swing, and caulk lines at the backsplash and sink open up or soften as the seasons turn. Stone, quartz, and laminate move far less, but the joints around them still feel it.
This site is an informational guide for homeowners, not a sales page. It explains how the work gets done and what to check before and after.
Older Houses and Out-of-Level Walls
Older houses are hard on countertop layout. Many homes near the Wisconsin State Capitol and in neighborhoods around Lake Mendota have walls that are out of square and floors that slope. A cabinet run that looks straight can drift a half inch or more over a few feet.
That drift is why templating and scribing matter. The template records the real wall line, and the top is cut or scribed to follow it, so the gap at the wall stays tight instead of showing a wide, crooked caulk joint.
Rentals and Student Housing
Durable, easily repaired surfaces are common choices in rental and student housing near the University of Wisconsin-Madison. Heavy use, quick turnover, and the occasional hot pan or dropped knife favor materials that shrug off wear. A top that can be spot repaired or replaced in sections keeps a unit in service between tenants.
Owner-occupied kitchens can lean the same way when the household cooks daily and wants low upkeep.
What a Good Install Looks Like
A good install has tight seams, a level surface, and solid support under every overhang. Seams sit away from the sink and cooktop where possible, and the color and pattern match across the joint. Cabinets are shimmed to level before the top goes down, and the sink cutout is supported so the edges do not crack under load.
Caulk at the wall and backsplash should be a thin, even bead. It is a flexible seal, not a filler for a bad fit.
Guides
The guides cover six topics: preparing a kitchen for new countertops, choosing a material for Wisconsin seasons, the steps from templating to installation, scheduling an install in a Wisconsin winter, common problems and their causes, and how to judge a fabricator and installer.
Latest Guides
Choosing a Backsplash for a Busy Stone Countertop in Madison
2026-11-09
The best backsplash for a busy stone pattern is a quiet one: a single, consistent tile in a tone pulled from the stone's secondary color, set with grout that nearly disappears. A heavily veined or speckled slab already supplies all the movement a kitchen wall needs. When the backsplash adds its own pattern, the two compete at eye level and the room starts to feel cluttered.
That is the guiding idea for every decision below. Pick one star, make the stone it, and let everything else support it.
Start With the Whole Slab, Not a Chip
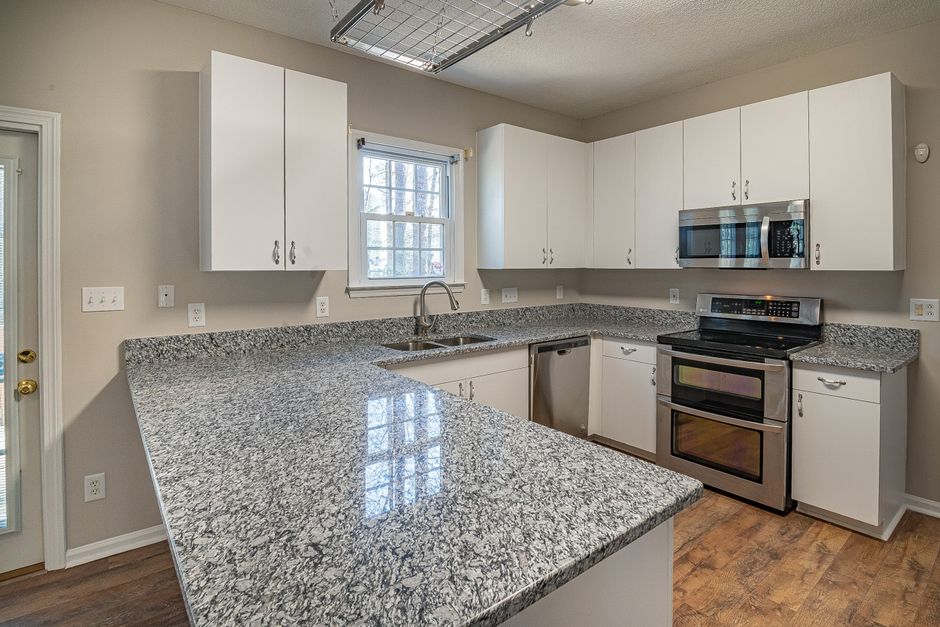
A 4 inch sample can miss the large veins, color drifts and clusters that appear across a full slab. Choosing tile against a small chip is how a backsplash ends up fighting the stone it was meant to flatter.
Visit the stone yard and look at the actual slab, or ask the fabricator for photos of the full slab taken in daylight. Then bring tile samples to that slab, or compare them against the photos on a screen set to full brightness, and judge them side by side. This applies to natural stone and to engineered stone from makers such as Cambria alike, since both can show large-scale variation that a chip hides.
Pull Color From a Secondary Tone
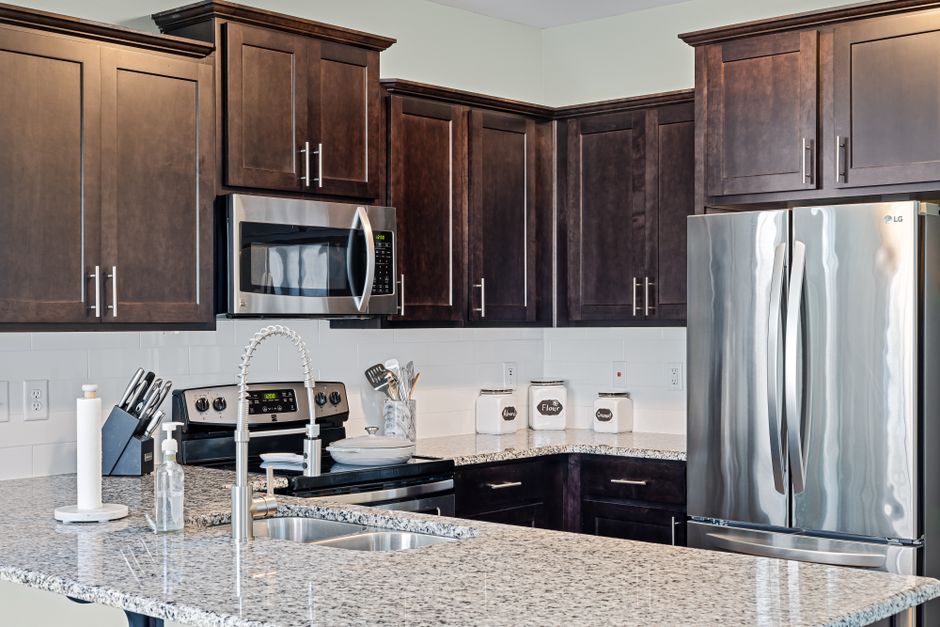
Matching the dominant background of the slab exactly rarely works. A white countertop with gray veins does not need a white backsplash; it usually looks better with a soft gray, taupe or pale gold borrowed from the veining. A black granite with gold flecks can take a warm, muted tile that echoes the flecks without copying the base.
Coordinating tones beats an exact match. An exact match tends to look like a near miss, while a related tone reads as intentional.
Check Undertones First
Before comparing color, compare undertone. A warm white with a cream or yellow cast and a cool white with a blue or gray cast can clash even though both are called "white." Plain white subway tile is not a safe default for every counter: its undertone can look dull or stark beside a warm stone, or yellowed beside a cool one. Hold the tile directly against the slab and look at the edge where they would meet.
Test Under Madison Light
Madison's winter days are short and often overcast, which gives flatter, cooler daylight than summer. A tile that looked right in July can look dingy or slightly off next to the stone in January. Look at samples in the kitchen at different times of day, and leave them taped up for a few days if you can.
Choose the Bulb Before the Tile
The backsplash sits directly in the glow of the under cabinet lights, so their color temperature matters. Warm LEDs push stone and tile toward yellow, and cool LEDs push them toward blue. Settle on the bulb color first, then check the samples under it. Changing the lights after the tile is up can undo a careful match.
Keep the Tile Itself Simple
Handmade-look tile, zellige style tile and anything with strong shade variation add a second layer of movement. Over heavy veining, consistent color and a simple shape work best: a plain rectangle, a vertical stack or a basic square.
Scale contrast helps too:
- A speckled granite with fine, even grain pairs well with larger, calmer tile.
- A slab with big, dramatic veins can handle a small, quiet tile as long as the color stays restrained.
Mixing patterns is not forbidden. It just works only when scale and color are deliberately contrasted, and the safest version is still one busy surface and one calm one.
Treat Grout as Part of the Color Plan
High contrast grout draws a grid across the wall that fights the stone. Grout close to the tile color, or close to a tone in the countertop, keeps the wall calm. Dark grout does not hide every problem and still needs cleaning, so choose it for how it looks, not as a shortcut.
Think About Sheen
Polished stone beside glossy tile can look cohesive. Honed or leathered stone often looks better with matte tile. Whichever way you go, make it a choice rather than an accident. Glossy tile also makes an uneven installation easier to see.
Decide the Height on Purpose
Three layouts are common: a short 4 inch splash of matching stone with paint or tile above, tile up to the underside of the upper cabinets, or full height to the ceiling where there are no uppers.
With a patterned slab, a short stone splash under busy tile adds a third element to the wall. Choose either the short splash alone with paint above, or a full splash, but not a short splash topped with patterned tile.
Consider Running the Stone Up the Wall
A slab backsplash from the same material removes the matching problem entirely. With veined stone, ask the fabricator to lay out the cuts so the veins continue from the counter onto the wall, and approve that layout before anything is cut. Whether a slab backsplash costs more or less than tile depends on the job, so compare actual quotes for your kitchen.
Plan for Madison's Older Walls
Many Madison homes, including the bungalows and older houses on the Near East Side and around Vilas, have plaster walls that bow or lean. Full height stone and large format tile show those flaws as gaps and uneven edges. Check the wall with a straightedge and correct it before templating.
Template a slab backsplash only after the cabinets and countertop are installed. Measuring early risks a poor fit around windows, outlets and uneven corners.
Move Outlets Before the Cutting
Openings are cut at the shop or on site, and a badly placed box can split a prominent vein. Ask whether boxes can shift so the cutouts land in quieter parts of the pattern. Then choose cover plates in a color close to the backsplash, or low profile and recessed styles, so plastic rectangles do not interrupt the stone or tile.
Get the Installation Details Right
Under cabinet lights shine almost parallel to the wall, so any tile edge that sticks out casts a shadow. This is called lippage, and it shows most with long rectangular tile. Insist on a flat installation.
A few more details protect the finished look:
- Flexible caulk at the counter and corners. Use caulk, not grout, where the backsplash meets the countertop and at inside corners. Dry heated winters and humid summers move framing and cabinets slightly, and rigid grout in those joints tends to crack.
- White setting material behind glass tile. Glass is translucent, so gray thinset and trowel ridges can show through and shift the color, which can throw off a careful match to the stone.
- Finished edges. Where tile stops at a wall or cabinet end, plan a bullnose, a metal trim profile or a polished stone edge, and decide before ordering so enough trim is bought.
- One production lot. Tile shade can vary between lots, which is especially noticeable next to a stone chosen for its color. Order extra from a single lot and keep spares for future repairs.
Protect the Surface Behind the Range
Marble and some granites absorb cooking oil and splashes, which matters most behind the cooktop. Sealing slows absorption but does not make natural stone stain proof, and it does nothing to prevent acid etching. Reapply on the schedule the fabricator or sealer maker recommends, and test by seeing whether water beads or darkens the surface.
Think twice about light marble directly behind the range. Grease and tomato splatter can etch or stain it, and a busy pattern will not fully hide the dull spots that acid leaves on polished calcite stone. Remember too that engineered stone is not natural stone and is not fully heat proof, so it is not a license to ignore the range wall.
Cut Engineered Stone Safely
Cutting engineered stone releases fine crystalline silica (silicon dioxide), which is linked to silicosis. Backsplash pieces should be cut by the fabricator with water and dust control. Leftover pieces should never be dry cut in the garage.
A Quick Order of Decisions
- See the full slab and note its secondary tones.
- Choose the under cabinet bulb color.
- Compare undertones, then color, in Madison light across different times of day.
- Pick a simple tile shape and low variation, then match or deliberately contrast the sheen.
- Set grout close to the tile or a stone tone.
- Decide the height, then settle outlets, edges and trim.
- Order extra tile from one lot.
A busy stone countertop does not need a backsplash that competes. It needs one that makes the stone look intentional, and in most kitchens that means calm color, simple shape and quiet grout.
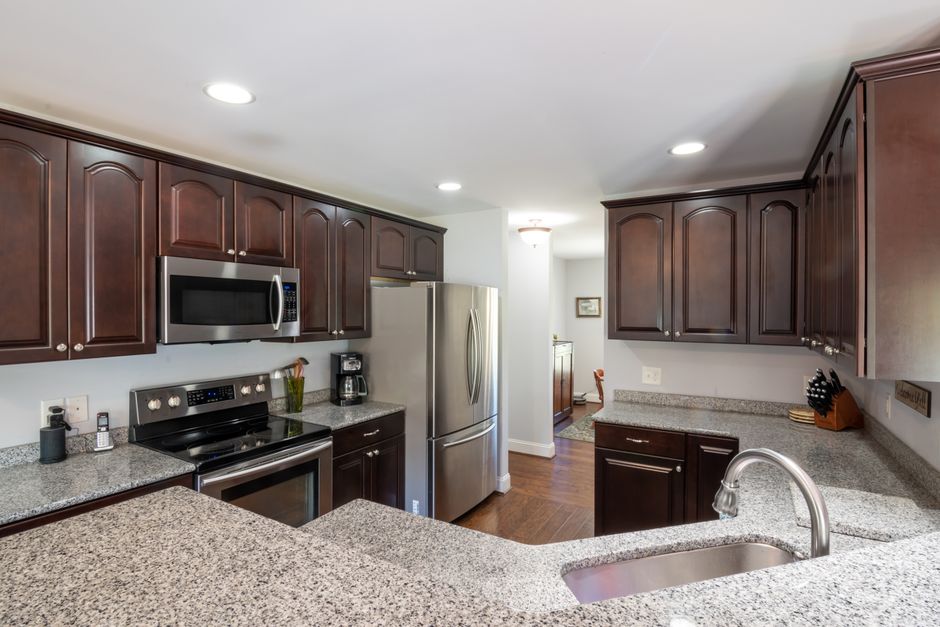
Hot Pan on a Quartz Countertop in Madison: What Heat Does
2026-11-09
No, a hot pan should never go directly on a quartz countertop. The crushed quartz grains in the slab handle heat well, but the polymer resin holding them together does not, and it can scorch, soften or discolor at temperatures far below what a pan reaches coming off a burner or out of an oven. A trivet costs almost nothing compared with a damaged slab, and heat damage is commonly excluded from quartz warranties, so check your own paperwork to see what it says.
Why Quartz Is Weaker Against Heat Than It Looks
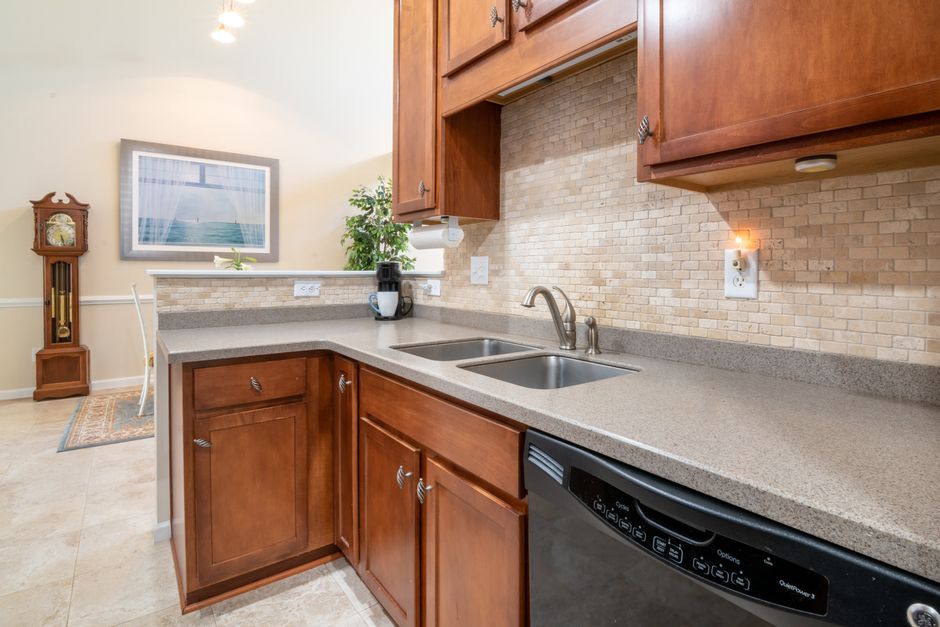
Engineered stone is a composite material: crushed natural quartz (silicon dioxide), pigments and polymer resin. The mineral is tough. The resin is the weak point. Brands such as Cambria and others generally tell owners to use trivets or hot pads, and that advice exists because of the binder, not the stone.
It is tempting to assume quartz must be heatproof because quartz the mineral is heat resistant. That reasoning fails, because the surface you cook near is a blend, and the blend is only as heat tolerant as its resin.
What heat damage looks like
- A yellow or brown ring where the pan sat
- A cloudy white or dull patch
- A hairline crack
Discoloration happens inside the resin, so it generally cannot be scrubbed or polished away the way a surface stain can. Even a few seconds of contact with a very hot pan is not automatically harmless.
Thermal shock and cracking
Thermal shock is the main cracking risk. One spot gets very hot while the slab around it stays cool. The hot area expands faster than its surroundings, and the stress can split the slab. Brief contact with a very hot pan can do more harm than long contact with a warm one.
The worst offenders are cast iron skillets and roasting pans pulled straight from a hot oven. They hold a lot of heat and release it slowly into one small spot. Set the trivet or rack out before you open the oven door, not after.
How Other Countertop Materials Handle a Hot Pan
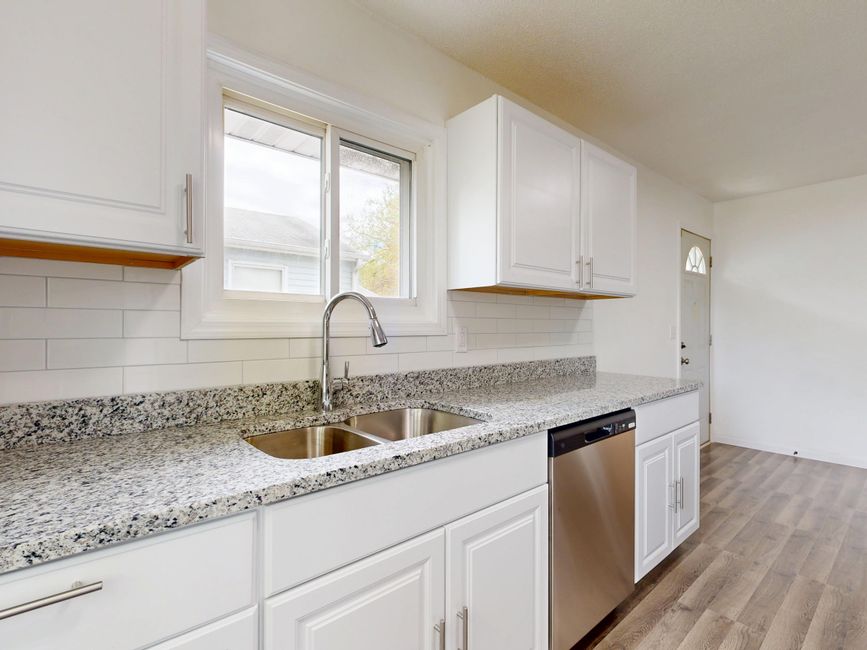
Quartz is on the weak end of the heat spectrum among popular surfaces, but no material is a free pass.
Granite
Granite forms under heat and pressure and tolerates a hot pan far better than quartz. It is not immune:
- It can still crack from thermal shock, especially at cutouts and natural fissures.
- Heat can break down or discolor the surface sealer.
- Many slabs are resin treated at the factory to fill pits and fissures, and that resin can scorch just like quartz binder.
A flamed finish does not change this. Stone flaming only alters the surface texture, not the heat tolerance.
Marble and limestone
These handle heat better than quartz, but they are soft, calcium based stones. Heat can dull a polished finish or leave a mark, and the sealer is vulnerable. They also etch from acidic foods, so pads and boards help them for more than one reason.
Soapstone
Soapstone is among the most heat tolerant natural countertop stones, which is why it is a common choice beside ranges. The tradeoff is that it scratches and dents easily and darkens with oil and use.
Sintered stone and porcelain
These slabs are fired at very high temperatures and tolerate heat much better than quartz. They can still crack from thermal shock or chip at thin edges, so a trivet remains a good habit.
Solid surface
Acrylic solid surface products such as Corian and Avonite scorch and can blister from heat. The difference is repairability: because the color runs through the material, minor burns can often be sanded out and refinished. Quartz is much harder to repair invisibly.
Butcher block
Butcher block scorches and leaves dark rings from hot pans, so treat it like quartz and use trivets. Wood near a cooktop also dries out faster, so oil it more often than wood elsewhere in the kitchen.
Madison Conditions That Raise the Risk
Cold winters widen the temperature gap
Long Madison cold stretches can leave countertop sections along exterior walls, under windows, or on a kitchen island near a drafty patio door noticeably cool. That widens the gap between the pan and the slab when a hot pan lands, so heavy winter cooking deserves extra care on those runs.
Dry heated air and wood
Weeks of forced air heating can make butcher block shrink and open small checks, especially near a cooktop. Re-oil it through the heating season, and keep hot pans off any open checks.
Older homes and slab support
Many neighborhoods, including the Near East Side, the Isthmus and Vilas, have older homes with settled floors or kitchen cabinet runs that are out of level. A slab already under stress from poor support is more likely to crack when heat adds strain. Have a fabricator check that the cabinets are level and the slab is fully supported, particularly around the cooktop cutout.
Late summer canning
Canners, pots of boiling water and hot jars are heavy and very hot. Set jars on a folded towel or wire rack rather than bare stone. That protects the countertop, and it is also the standard way to keep the jars themselves from cracking.
Protecting the Zone Around the Cooktop
Choose real trivets
Pick trivets with feet or an open design so air can circulate under the pan. Silicone mats, cork, wood trivets, and metal trivets with rubber or silicone feet all work. A thin plastic cutting board is not a trivet and can melt onto the surface.
Know where cracks start
Cracks from heat or stress tend to start at inside corners of cutouts, at seams, and on the narrow strips of stone in front of or behind a cooktop. Keep hot items away from these spots even when using a pad. When fabricating new tops, ask for rounded inside corners at cutouts, because sharp corners concentrate stress.
Seams are joined with resin based adhesive, and heat can discolor or weaken them. Do not plan a seam right beside a cooktop, and do not rest pans across one.
Mind the range and cooktop type
With a slide-in or freestanding range, the counter edges beside it pick up radiant heat and get bumped by pan handles. Many ranges also vent oven heat toward the back or under the control panel, which can warm the backsplash and nearby stone. Keep a little clearance and check those edges periodically for discoloration or chips.
For a drop-in cooktop, confirm the installer left the gap the cooktop maker specifies between the cooktop and the stone. Do not shim or caulk the cooktop tight against the slab, because the cooktop and the stone expand at different rates.
Induction does not make this go away. The glass does not heat directly, but the pan heats it by contact, so sliding a hot pan from induction glass onto bare quartz is just as damaging as moving it from a gas burner.
Countertop appliances do slow damage
Slow cookers, electric roasters, griddles, air fryers, toaster ovens and pressure cookers heat their bases for hours. Set them on a wood board or a heat rated mat, and point air fryer and toaster oven vents away from backsplashes and walls.
Checking for Damage and Getting Repairs
Look at the counter at a low angle under good light for haze, rings or color change. Run a fingernail across any line to feel for a crack. Sealer will not help here: quartz is nonporous, is not normally sealed, and a sealer would not shield the resin from heat.
Report damage to your fabricator early. Do not try to fix it with abrasive pads, oven cleaner or other harsh chemicals, which attack the resin and make things worse.
Leave repair or partial replacement to a professional. Cutting or grinding engineered stone releases fine crystalline silica dust, and breathing it causes silicosis. Homeowners should never cut, grind or sand quartz themselves.
The Simple Habit That Settles It
Keep a trivet within arm's reach of every burner and the oven door, and the question mostly answers itself. In a Madison kitchen where winter cold, older framing and heavy cooking all add stress, that small habit protects a quartz top far better than any repair can.